How to setup Passthrough API for Quest in Unity

If you are a Quest 2 user then one of the major buzz around it has been the Passthrough. It is a feature where you can see the actual camera capture in Black and White. This is the closest that Quest 2 has to offers for AR. Being a developer I was intrigued how to utilise this feature. Here I have documented the steps involved in getting the Passthrough setup from a default Unity scene.
Development Environment Setup
To get started we will need to have a Development setup for Quest 2 using Unity. If you don't have it you can refer to my earlier article. It is for mac but applicable for windows as well with minor changes.
https://neerajjaiswal.com/how-to-setup-for-quest-2-development-on-mac-using-unity-without-bootcamp
Project Setup
Here are the steps to setup a Unity project for this tutorial.
- Create a new Unity project. Make sure you choose 3D template.
- A sample scene will open up. You can also create your own scene.
- Setup Oculus Plugin - To know how Click Here
- Import Oculus Integration from Asset Store - To know how Click Here :
Clear Default Background
Now we will need to clear the default background sky provided by Unity for any new scene.
- Goto Menu Window>Rendering>Lighting.
- Lighting dialog should open up.
- Goto section Environment.
- Change Skybox Material to None.
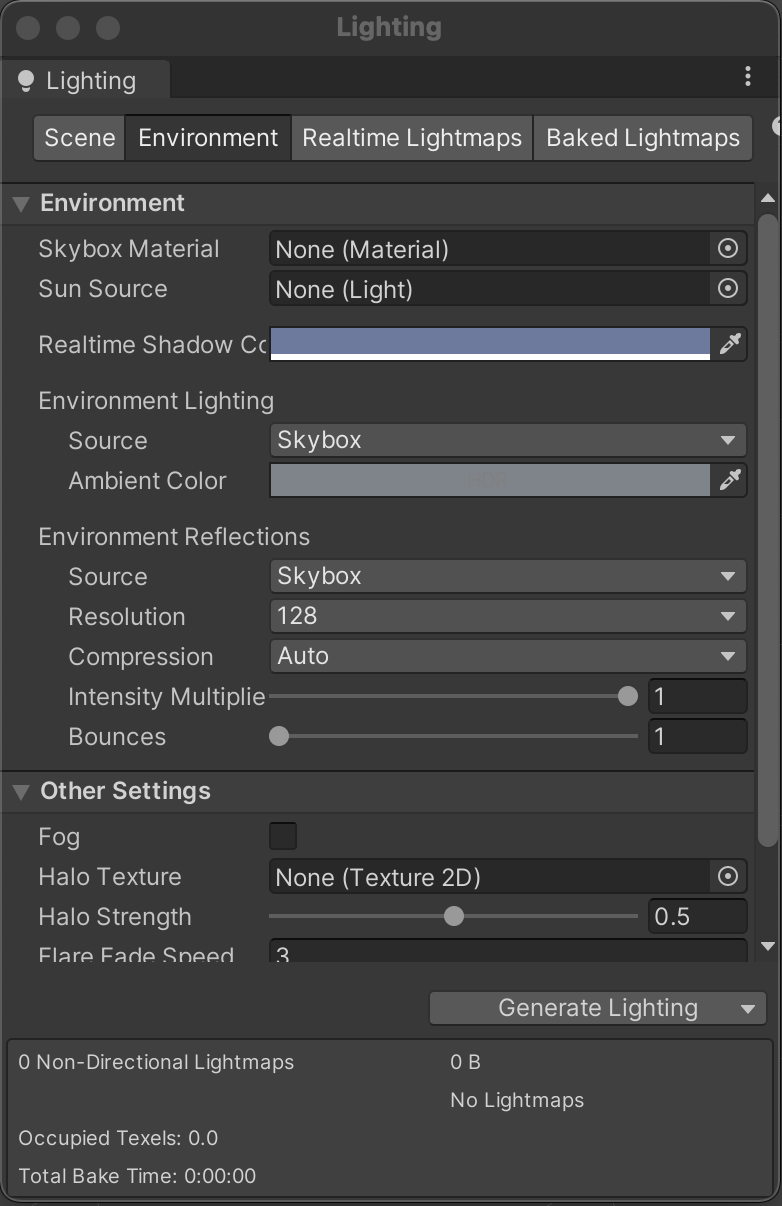
Now the default environment will be cleared which is required for getting the passthrough to work.
OVR Camera Rig setup
For this tutorial we will use the OVRCameraRIg prefab provided by the Oculus integration.
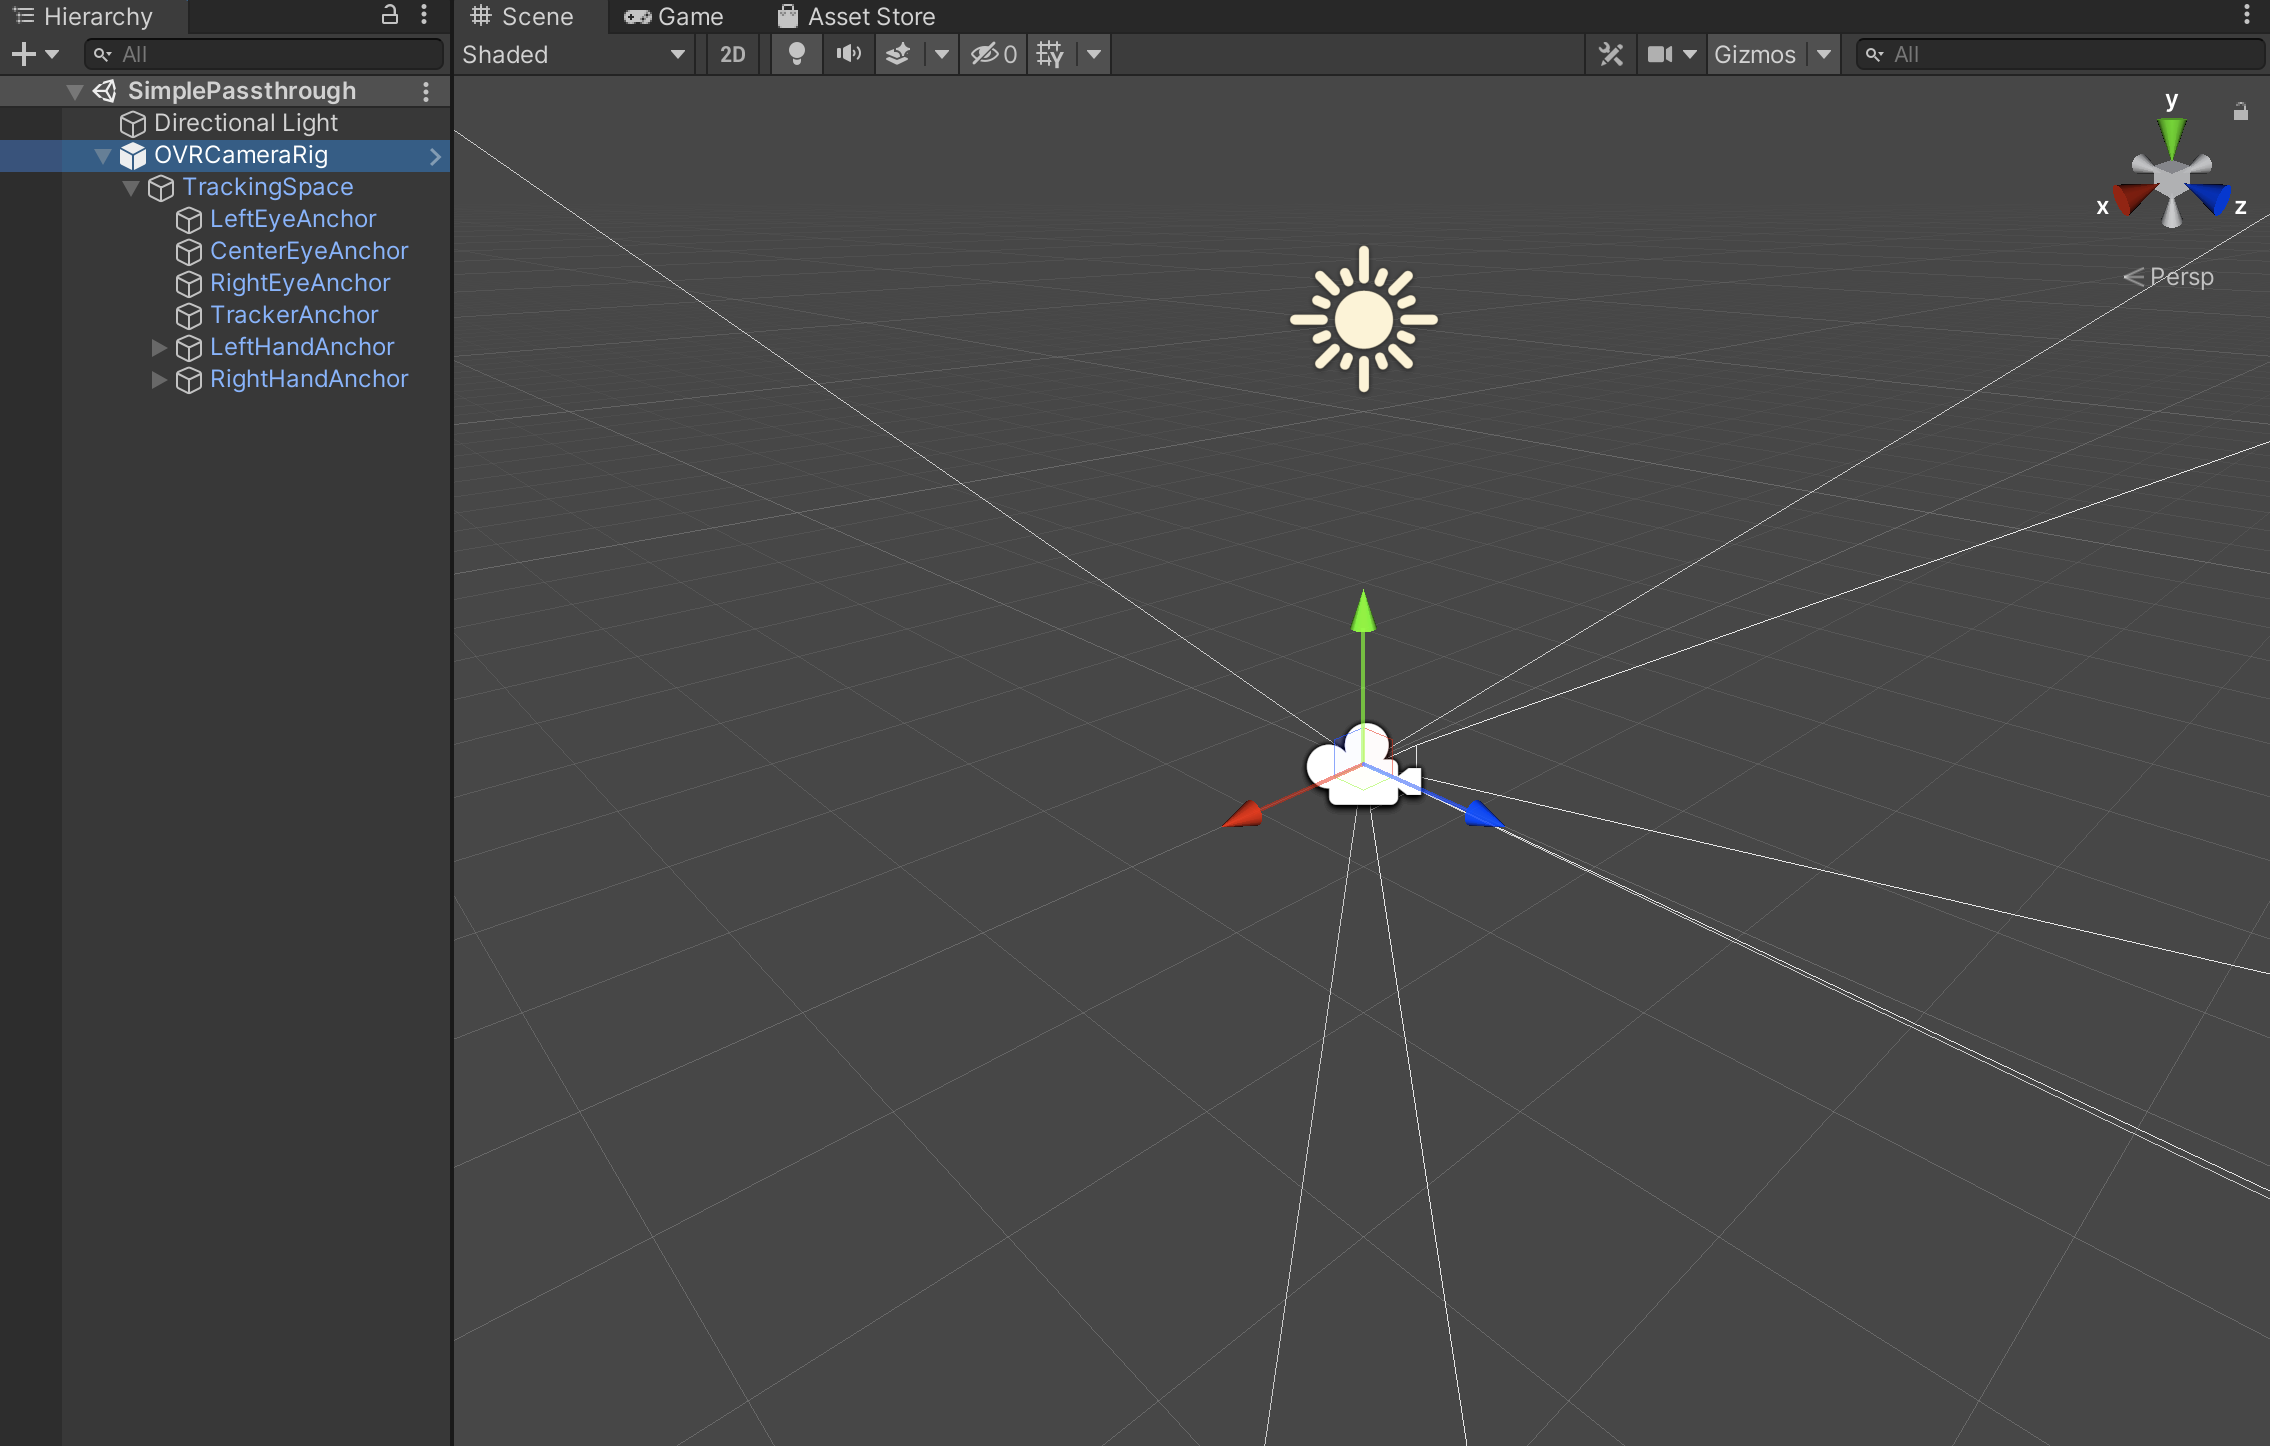
- Remove the default MainCamera provided by Unity.
- Goto Project Tab.
- Open folder Assets > Oculus > VR > Prefabs.
- Select and Drag OVRCameraRig to the Hierarchy tab.
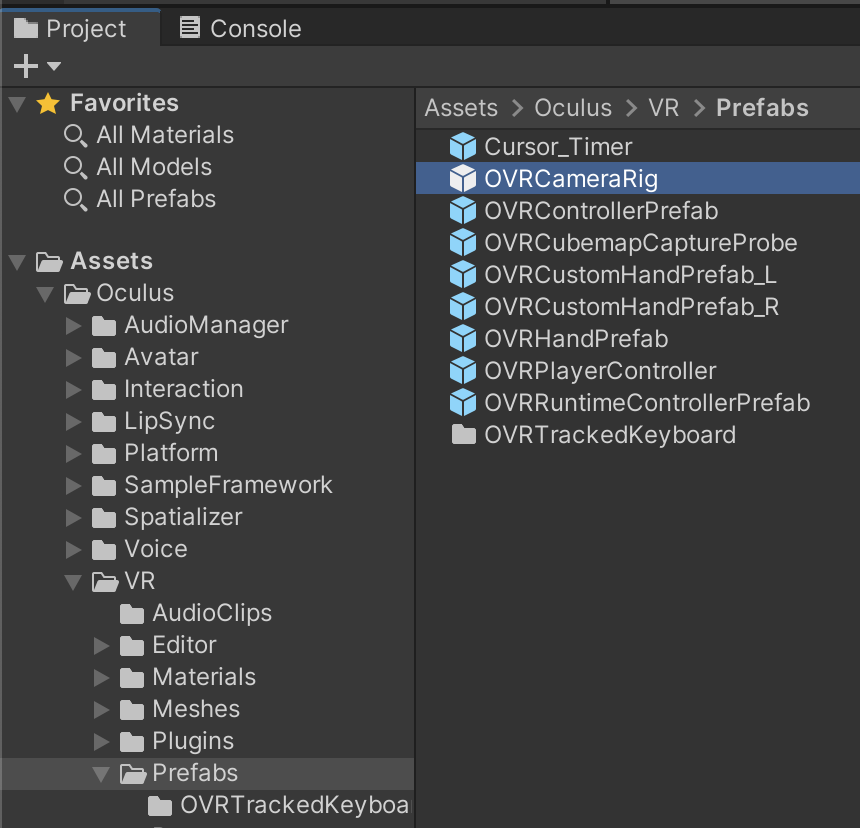
- Now the OVRCameraRig is ready to be configured.
Enable Passthrough in OVRCameraRig
By default Passthrough is disabled, we will need to enable it in the inspector.
- Select OVRCameraRig object in the Hierarchy.
- Goto Inspector tab.
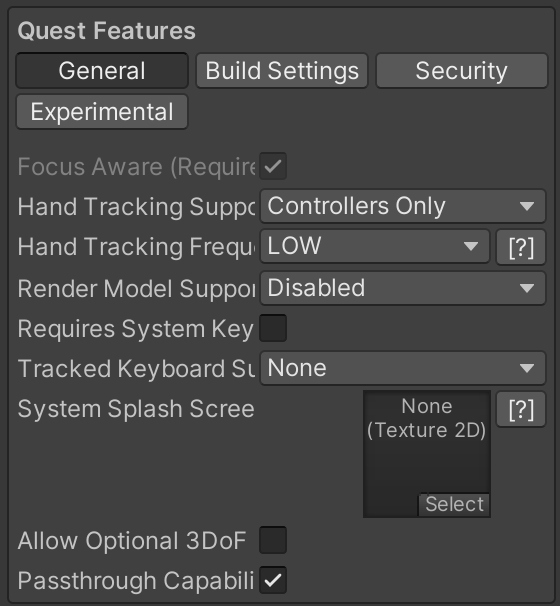
- Goto section Quest Feature.
- Select General tab.
- Ensure Passthrough Capability checkbox is checked.
- Now goto section Insight Passthrough.
- Ensure Enable Passthrough checkbox is checked.

Add OVR Passthrough Layer Behaviour
Now that we have the camera setup we will need to add a behaviour script so that you actually start seeing the real world.
- Select OVRCameraRig object in the Hierarchy.
- Goto Inspector tab.
- Scroll to bottom
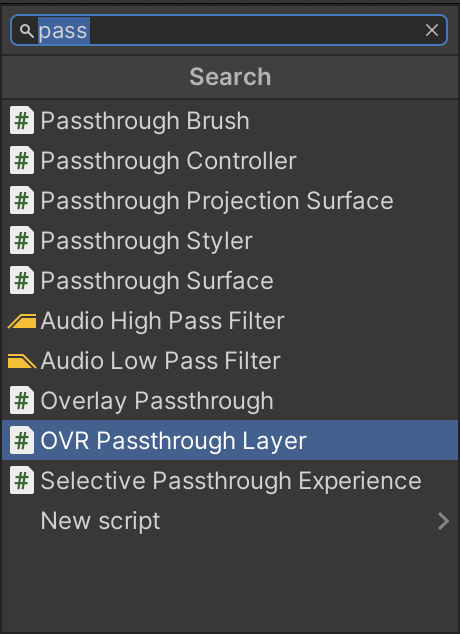
- Click on Add Component
- Search for OVR Passthrough Layer script and add it.
Player Settings
We are almost there to run our project. Just last few configurations are left.
- Open Project Settings window.
- Select Player in the left navigation.
- Goto Android Tab.
- Goto Other Settings.
- Goto Rendering.
- For Color Space select Linear.

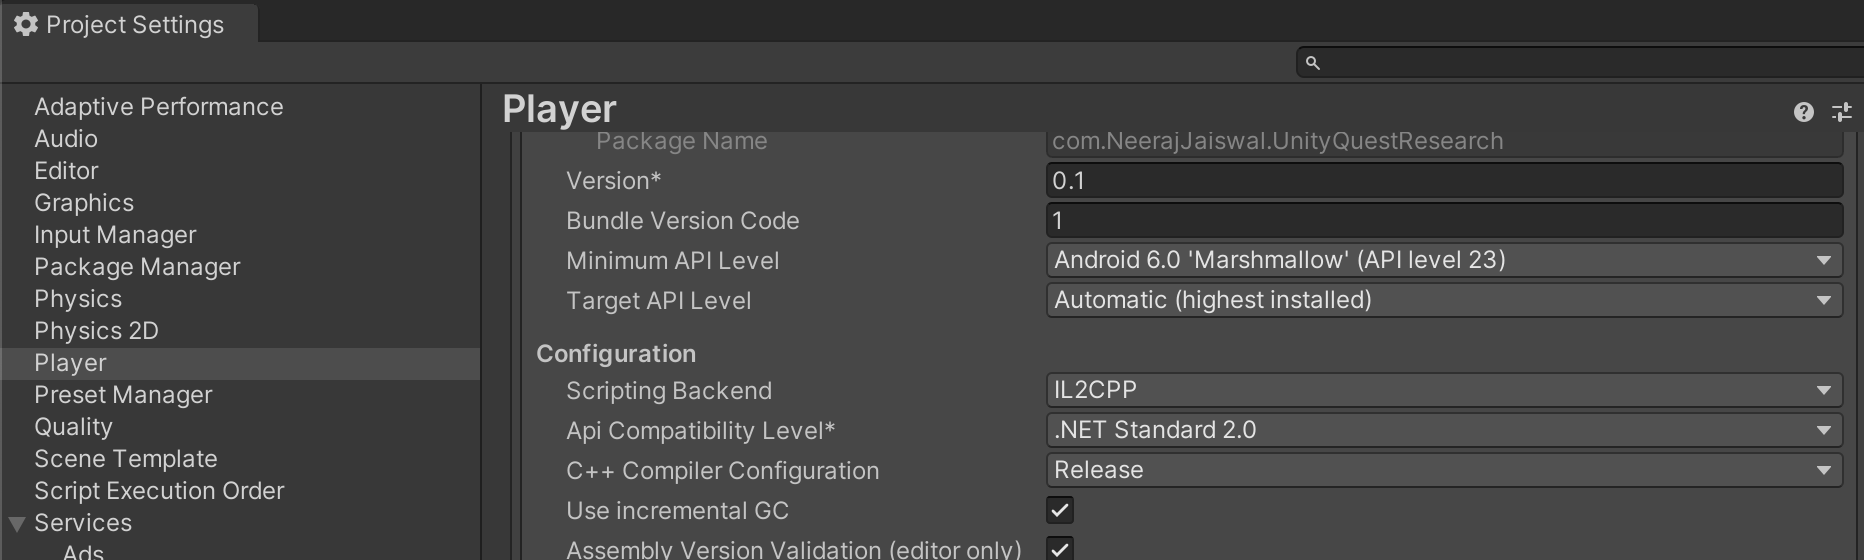
- Goto Configuration section.
- For Scripting Backend select IL2CPP.
Build And Run
Now we are done and ready to test the scene we have build from scratch for playing with Passthrough API.
- Goto menu File>Build Settings.
- Ensure you are switched to Android in the platform section.
- Select Oculus Quest 2 as your Run Device.
- Click on Build And Run.
What's Next
Now that we have our scene ready with Passthrough API it is time to add some 3D objects to it. I will share an article very soon with my other Passthrough API Research.